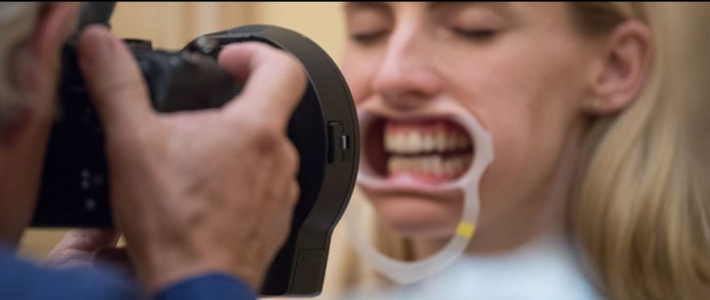
It's important to capture excellent clinical images for AACD Accreditation submissions. Photos that are poorly shot can negatively impact a case submission. Here are four common dental photography mistakes along with tips to help you capture better images for your clinical case submissions:
1. UNDESIRABLE EXPOSURE
Photography is about understanding light. Understand these aspects to prevent out of focus images and blurring due to patient movements:
-
Depth of field
-
Shutter speed
-
Improper lighting
|
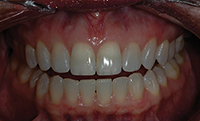
Underexposed photo
|
Take test images using direct undiffused lighting with an aperture setting at f-32, ISO at 100, and the shutter speed set at 1/100.
2. INAPPROPRIATE ANGLE
|
Position the camera at 90 degrees horizontally and vertically with reference to the subject. Framing an image from above or below the subject can alter the perception of the plane of the teeth.
|
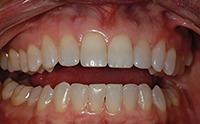
Image taken from an inferior angle
on the patient’s right
|
3. IMPROPER FRAMING
Recline the patient and have them hold the retractors. To keep the mirror from fogging, ask your assistant to hold the occlusal mirror against the opposite arch and apply a gentle stream of dry air.
Use these guidelines to help capture the best occlusal image:
|
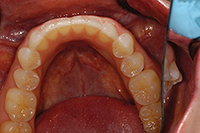
Improper framing-edge of mirror
and unreflected teeth visible
|
4. INCORRECT MAGNIFICATION
|
Make any necessary magnification conversions to produce an image magnification comparable to the images illustrated in A Guide to Accreditation Photography. You will need to capture the required views using these three magnification ratios:
|
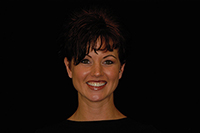
Inadequate magnification
for full face view
|
Settings will vary with sensor and face size. Cameras with smaller sensors will require approximately a 1.5 times increase setting on the lens barrel, such as [1:10 (1:15), 1:2 (1.3), 1:1 (1:1.5)].
Not an AACD Member? Join here.
Learn more about AACD Accreditation here.
